
How to Build
An Electric Chair
Items Needed:
5 to 8 2x4 boards (depending on size of chair)
1 peice of plywood
Black spray paint
Assortment of nails/screws
Assortment of lights, straps, decorations
The concept of the electric chair is an easy build if you just take the time to look around at your home furniture like dining room chairs and lawn furniture. Its assembly steps and final look depends on the size and appearance that you desire. Therefore, this is only a basic guide of photos on how ours was built. Keep in mind you can strap down your victim, get a bowl and cords for the helmet, or add your own idea of lights.
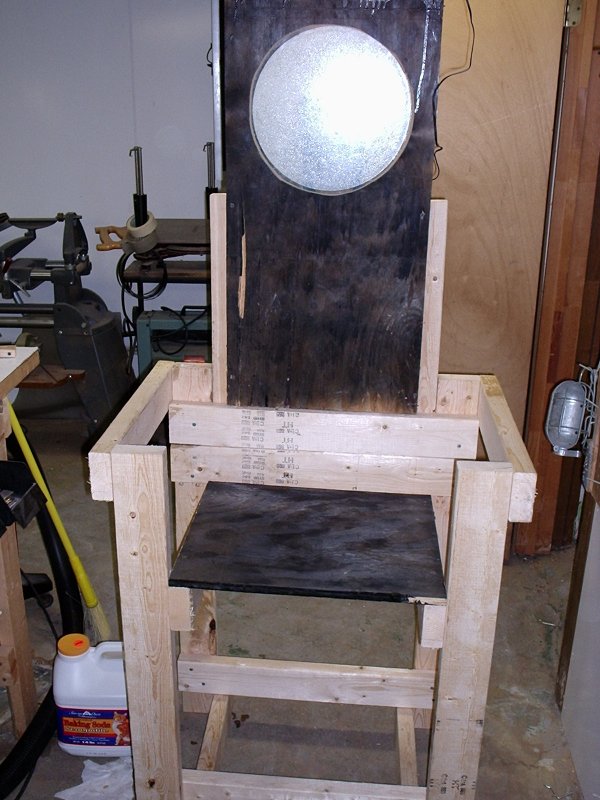
We used old peices of plywood from previously broken halloween props to make the back and seat of the chair.
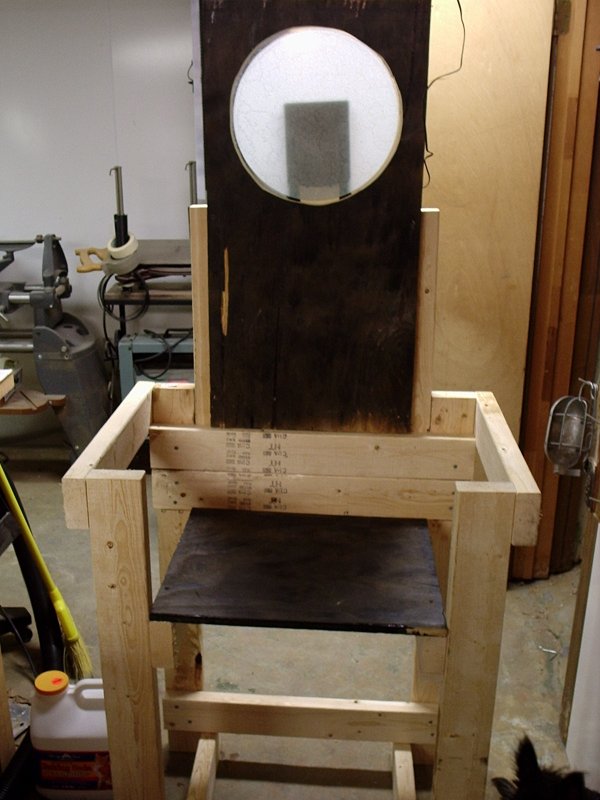
As you can see, we used one of the blue electric lightning plates bought at Spencer's gifts and mounted it to the back of the chair. We also measured out comfortable sized arm rests.

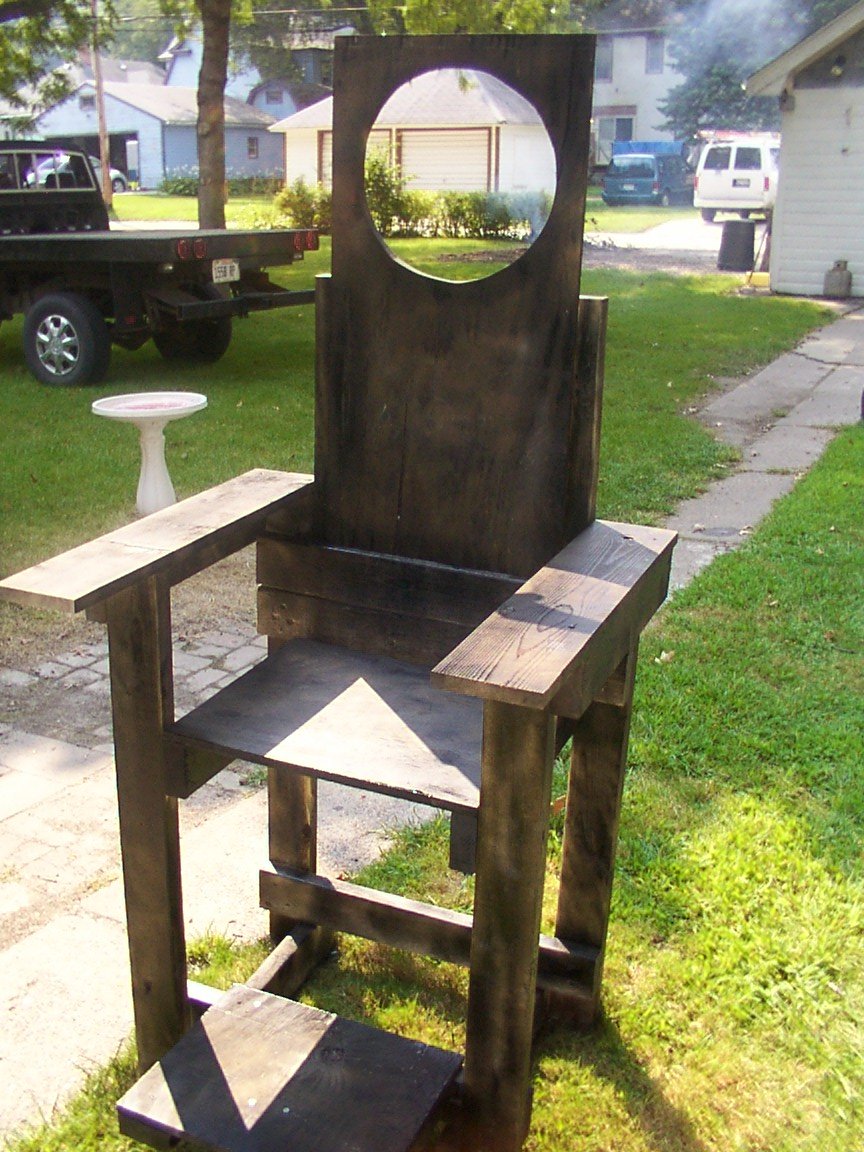
After adding a small foot rest, we got out a few cans of black spray paint to add a "burnt look" to it. Lightly spraying over the chair without covering it completly with paint gives a very worn out, used, burnt quality.
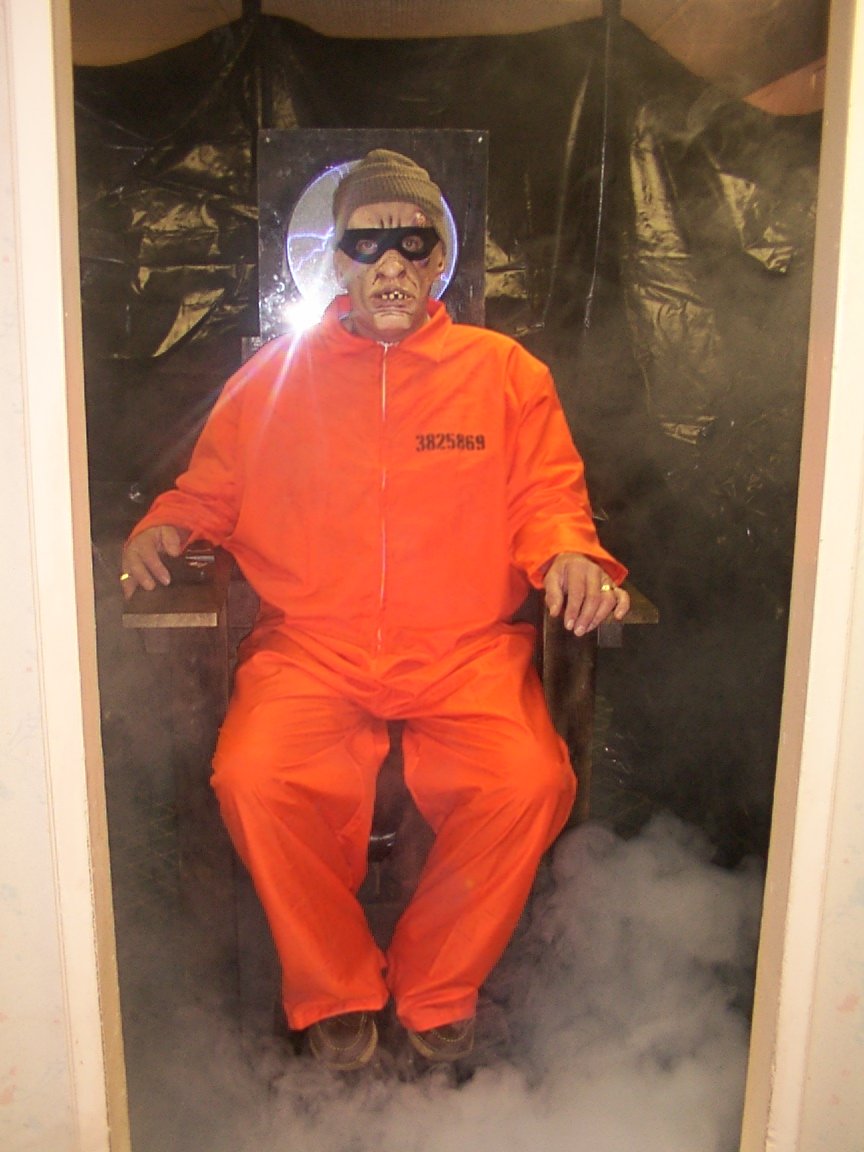
To get the full effect, we added a fog machine, a homemade CD of electronic power tool sounds, plugged in the blue lightning plate, and placed a strobe under the chair.
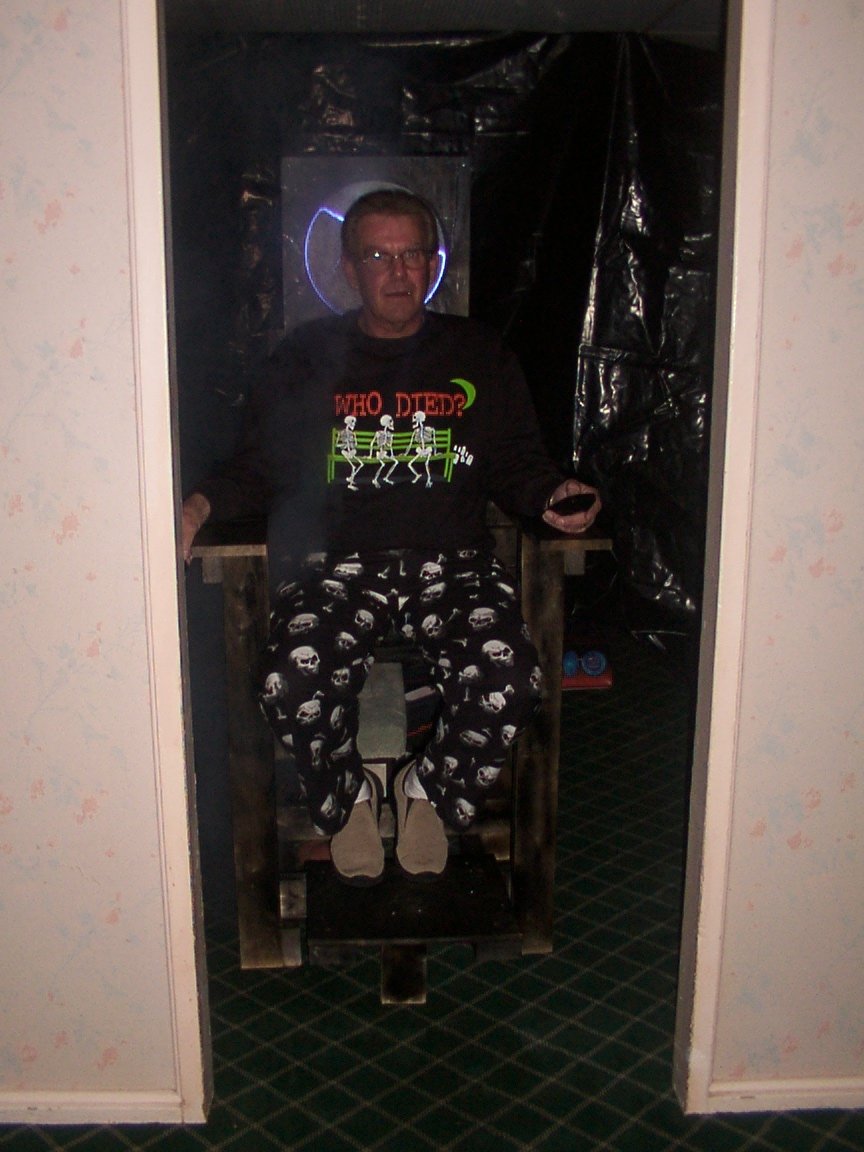
Finally, we plugged all of the electronics into a remote control power adapter so that all the equipment was activated by one clicker held by the victim. We also added a prisoner halloween costume and burgler mask bought at a local deparment store.